ServiceTitan and Zapier For Beginners
If you use ServiceTitan, then we already know one thing about you: you love streamlining your business processes. Zapier can take things to the next level by automating tasks that you find yourself repeating frequently. For example, are you always attaching documents to a job record? Checking reports for who to make happy calls to? Or saving your ServiceTitan reports to a folder on Google Drive? Zapier can do these things auto-magically for you!
What Exactly is Zapier?
Zapier (pronounced like “happier”) is an automation tool designed to help you get things done without manually performing the action. The best part? Absolutely no coding is necessary.
ServiceTitan offers an integration with Zapier, which means you can automate tasks within your ServiceTitan account, or, trigger things to happen in other platforms based on what’s going on within ServiceTitan.
Here is some helpful lingo:
- A Zap is a workflow between connected apps.
- A Trigger is something that happens which starts a zap
- An Action moves data based on the trigger to complete the Zap. Each Zap contains one or more Actions (or steps).
Zapier has many templates available or you’re able to create your own zaps from scratch.
ServiceTitan and Zapier: How to Get Started
Step 1: Get a Zapier Account
To get started, you will need a Zapier account. Here at Powerhouse, we recommend our clients start with the Professional Plan which includes 5,000 Zaps. Of course, feel free to try out the free version but be prepared to level up as automating will be a great tool, and may prove to be addictive – just ask our team!
Step 2: Get Your ServiceTitan API Key
You will need to request an API key for your account. API stands for Application Programming Interface – it’s basically a secured access portal to your data. Your API key is unique to your account. You can request an API key from your Customer Success Manager at ServiceTitan.
Step 3: Connect ServiceTitan to Zapier
Now you’re ready to connect Zapier to ServiceTitan. Select My Apps then Add Connection. Search for ServiceTitan, and on the next screen you’ll be prompted to enter your API Key. Once you’ve connected ServiceTitan, you can add other connections to apps you use commonly. I have ServiceTitan, Google Calendar, Slack, and a few others! .
Let’s Practice! Your First ServiceTitan Zap
One basic automation could be a Zap to create scheduled Sales Appointments to Google Calendar. This might be helpful if you have a salesperson who likes to have all their appointments on their Google Calendar. To begin, click Create Zap.
Set Up Your Trigger
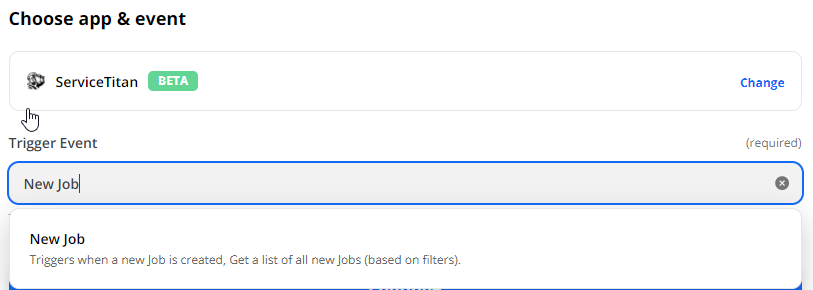
Zapier will prompt you to set up your Trigger (aka first part of the Zap). Remember – your Trigger is what sets off the rest of your Zap! Search for ServiceTitan in your App Event:

Next, we’re going to select what kind of event we want to trigger from. In this case, we’ll select the only option, “New Job”. You’ll have the opportunity to filter to specific jobs:
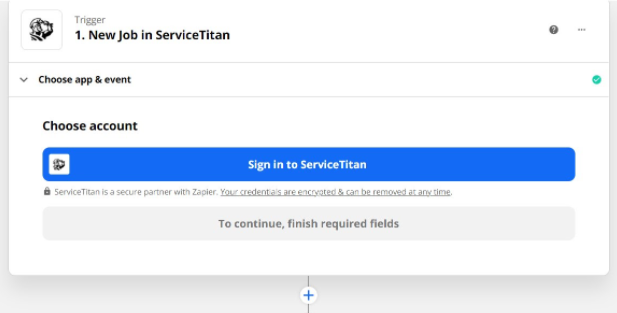
If you haven’t connected ServiceTitan yet, you will be prompted to sign in and enter the API key. It will look like this:
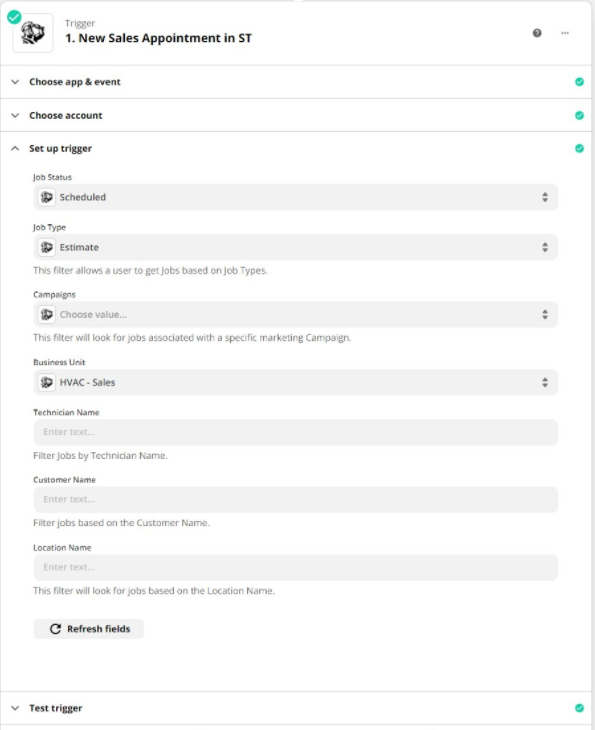
Next, we’re going to set up the parameters of the ServiceTitan event I want to go to Google Calendar. I’m going to set the Job Status to Scheduled, the Job Type to Estimate, and the Business Unit to HVAC Sales:
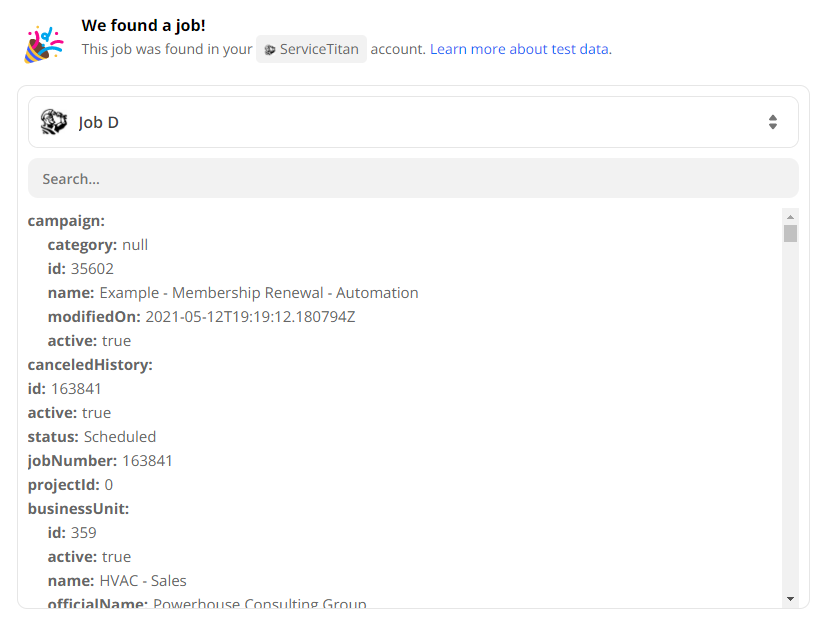
Let’s see if Zapier can find any jobs that match this criteria. Test your Trigger (part 1 of the Zap). If Zapier finds a matching job, you’ll be rewarded with a success message:
If you get an error, or no jobs are found, don’t worry. Try removing some of the filters to see what could be causing the issue.
Ready to move on? You’re doing great!
Add an Action Step
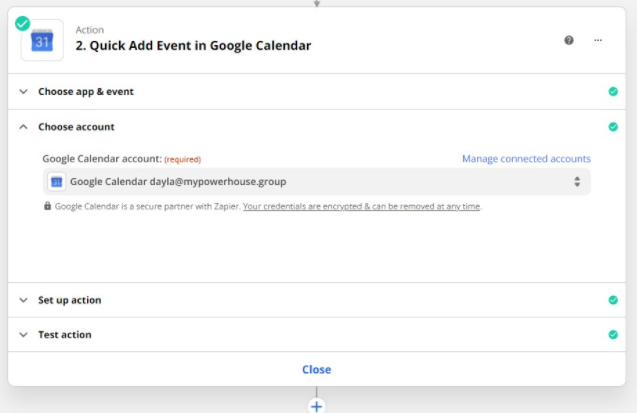
Let’s add our Action (part 2 of your Zap). We’re going to send this information over to Google Calendar. I chose the Google Calendar app and the Quick Add Event action:
Here is where the real fun begins! You can select fields from your ServiceTitan job that you want to be included on your Google Calendar event.
To do that, simply place your cursor in any field and look for the Insert Data popup. You can now scroll through or search the information that has been zapped in from ServiceTitan to customize your Calendar event.
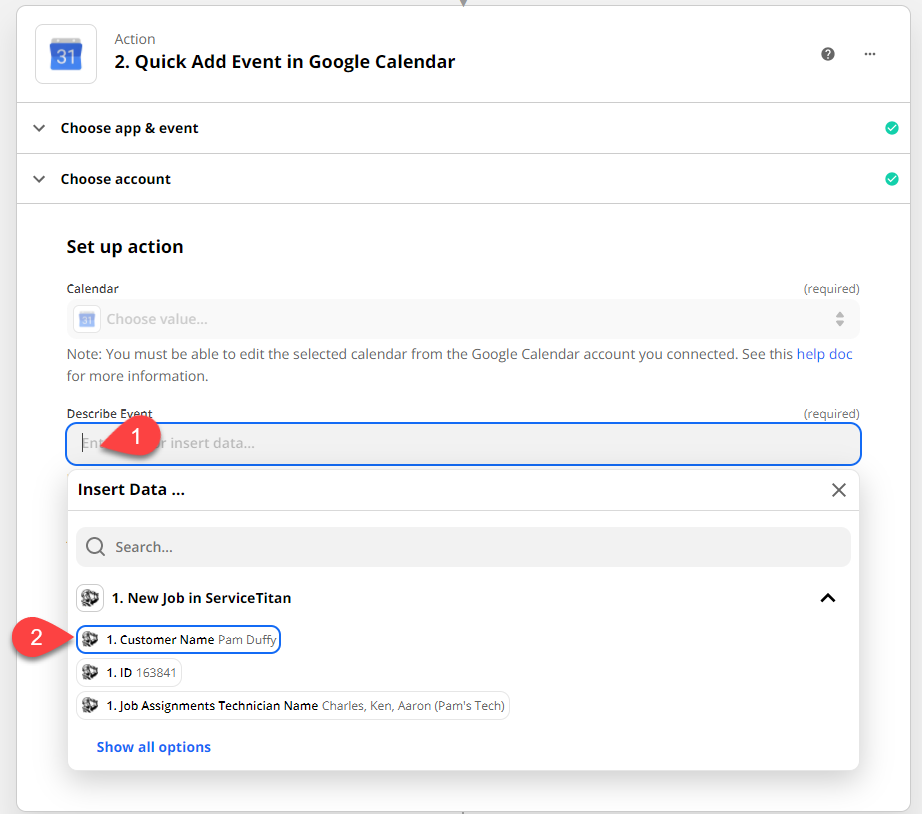
Here’s an example of what I have added:
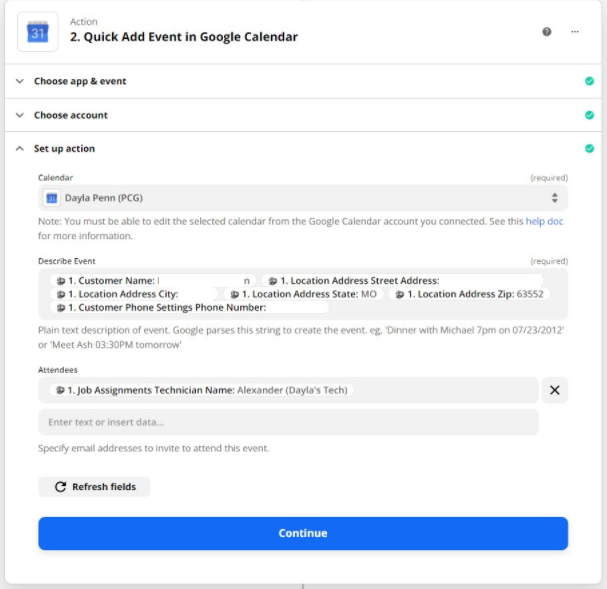
Once that’s completed, hit Continue. It’s time to test. I will show you what a failed test looks like and what success looks like!
Testing the Zap
First, let’s see what happens when it doesn’t work. Here’s my FAIL example – we’re human, we make mistakes:

In this case, you can see that I had set the “Attendees” incorrectly – Google Calendar wants an email address, not a name!
Testing SUCCESS looks like this:
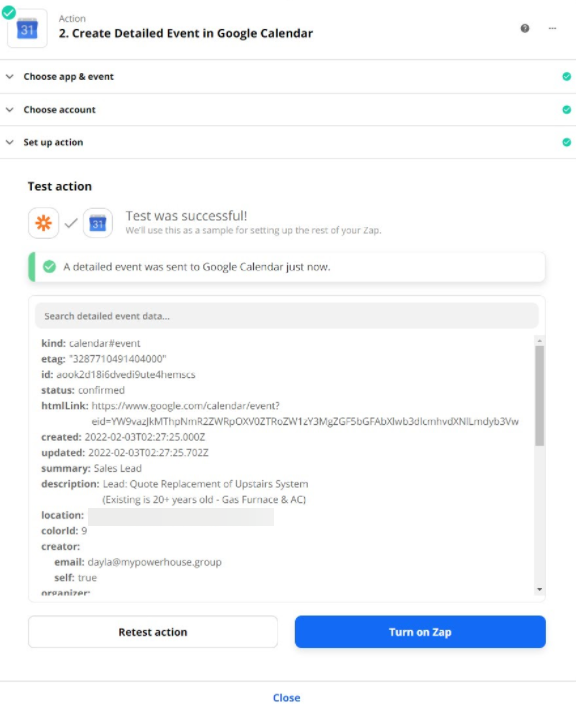
Zapier said this test was a success, so let’s check out my Google Calendar!
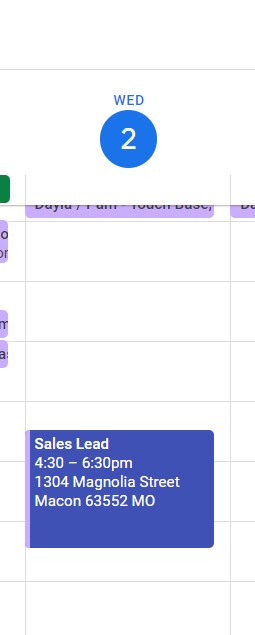
Now it’s time to celebrate! You are officially the proud owner of your very first Zap!
Zapier and ServiceTitan – Oh, the Possibilities!
At Powerhouse Consulting Group, we’ve helped many clients take advantage of Zapier to automate business processes. We can get real fancy with Zaps – adding filters, multiple steps, sending emails, loading notes into ServiceTitan – there’s really a lot you can do! The key to using Zapier successfully is to start with identifying what you’re already doing that you can automate, rather than trying to automate a new process. With Zapier, you can save time and reduce human error. If it all feels a little outside of your personal skill set, don’t worry – our team at PCG would be happy to help you set up Zapier with ServiceTitan! Contact us for a free discovery call.